Introduction
Ever wondered how a simple daily ritual can transform the atmosphere of your living space? In this post, we explore the benefits of a timeless practice that blends creativity with sustainability. Planting is more than a hobby; it’s a cultivating experience that nurtures both flora and personal well‑being.
Table of Contents
By dedicating a few minutes each day, you can foster calm, improve indoor air quality, and enjoy the subtle satisfaction of watching growth unfold. Discover how to get started, what you’ll need, and why this habit pays off in ways that extend far beyond the garden itself.
Materials & Supplies
To embark on this journey you’ll need a thoughtful assortment of items that streamline the experience and ensure consistent results. Below is a comprehensive checklist that covers everything from foundational tools to optional accessories that can elevate the routine.
– Premium substrate: Choose a well‑draining blend that supports root development, balances moisture retention, and supplies essential nutrients.
– Thoughtfully sized vessels: Select containers with ample drainage holes and sufficient depth for healthy root expansion, ranging from modest jars to spacious pots.
– Precision implements: Include a compact trowel, a fine‑mesh sieve, and a watering can with a gentle, adjustable spout to apply moisture evenly.
– Monitoring devices: A humidity gauge or digital moisture sensor helps maintain optimal conditions, preventing both drought stress and excess saturation.
– Nutrient enhancers: Organic amendments such as compost tea, worm castings, or slow‑release granules provide a steady supply of micronutrients.
– Lighting solutions: For indoor environments, LED panels with adjustable spectrums mimic natural daylight cycles, promoting robust development without reliance on sunlight.
– Protective accessories: Gloves and a small apron keep hands clean and clothing safeguarded during handling.
– Optional enhancements: Decorative mulch, aromatic stones, or a compact indoor water feature can add visual appeal, improve air circulation, and create a more inviting setting.
Alternatives are available for each category, allowing flexibility based on budget or personal preference. For instance, a repurposed glass jar can serve as a starter vessel, and a simple spray bottle may replace a dedicated watering can for early stages.
Timing / Process Schedule
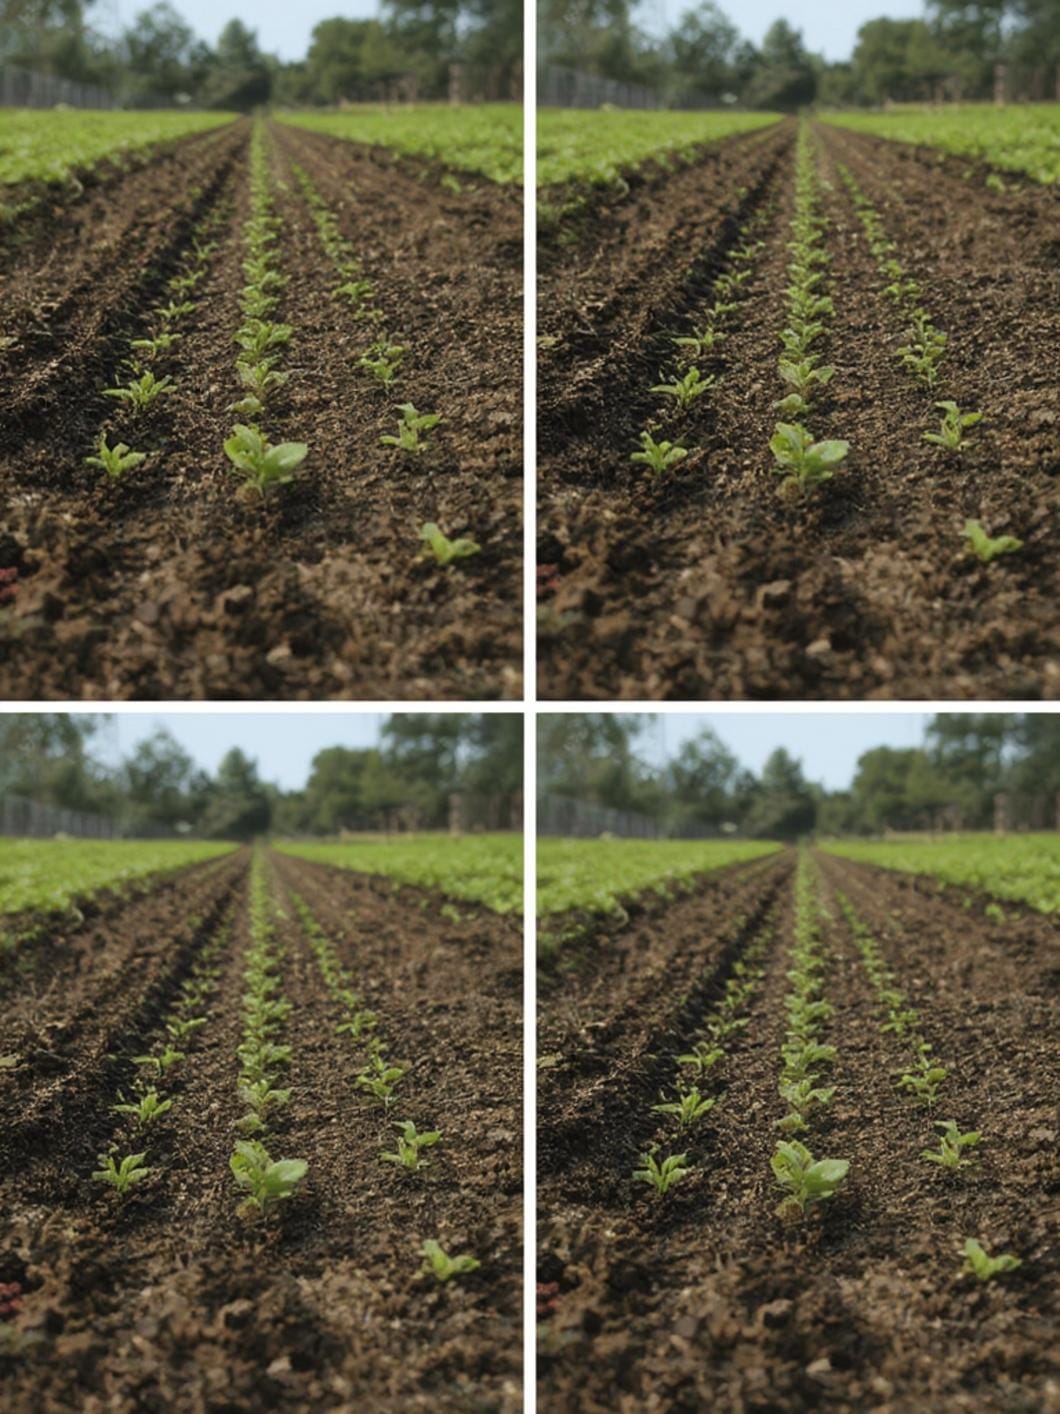
When planning the routine, allocate roughly 15 minutes for initial setup, followed by a 30‑minute hands‑on session to arrange elements. The entire cycle typically spans two to three weeks from preparation to visible outcomes, although some results may appear sooner depending on environmental factors such as temperature and light exposure. Compared with similar activities, this timeframe is relatively efficient, allowing enthusiasts to observe progress without lengthy commitments. By breaking the sequence into manageable intervals, participants can maintain momentum, track improvements with ease, and adjust variables as needed to fine‑tune results.
Step-by-Step Instructions
Begin the planting routine by gathering all materials listed earlier and confirming that the workspace is clean and well‑lit. Follow these detailed steps:
1. Prepare the substrate: Moisten the soil blend until it reaches a damp consistency, then gently fill each container to the recommended depth, leaving a small margin at the top.
2. Position the vessels: Arrange the containers on a stable surface, ensuring each has easy access to light and adequate airflow, and space them to allow future growth.
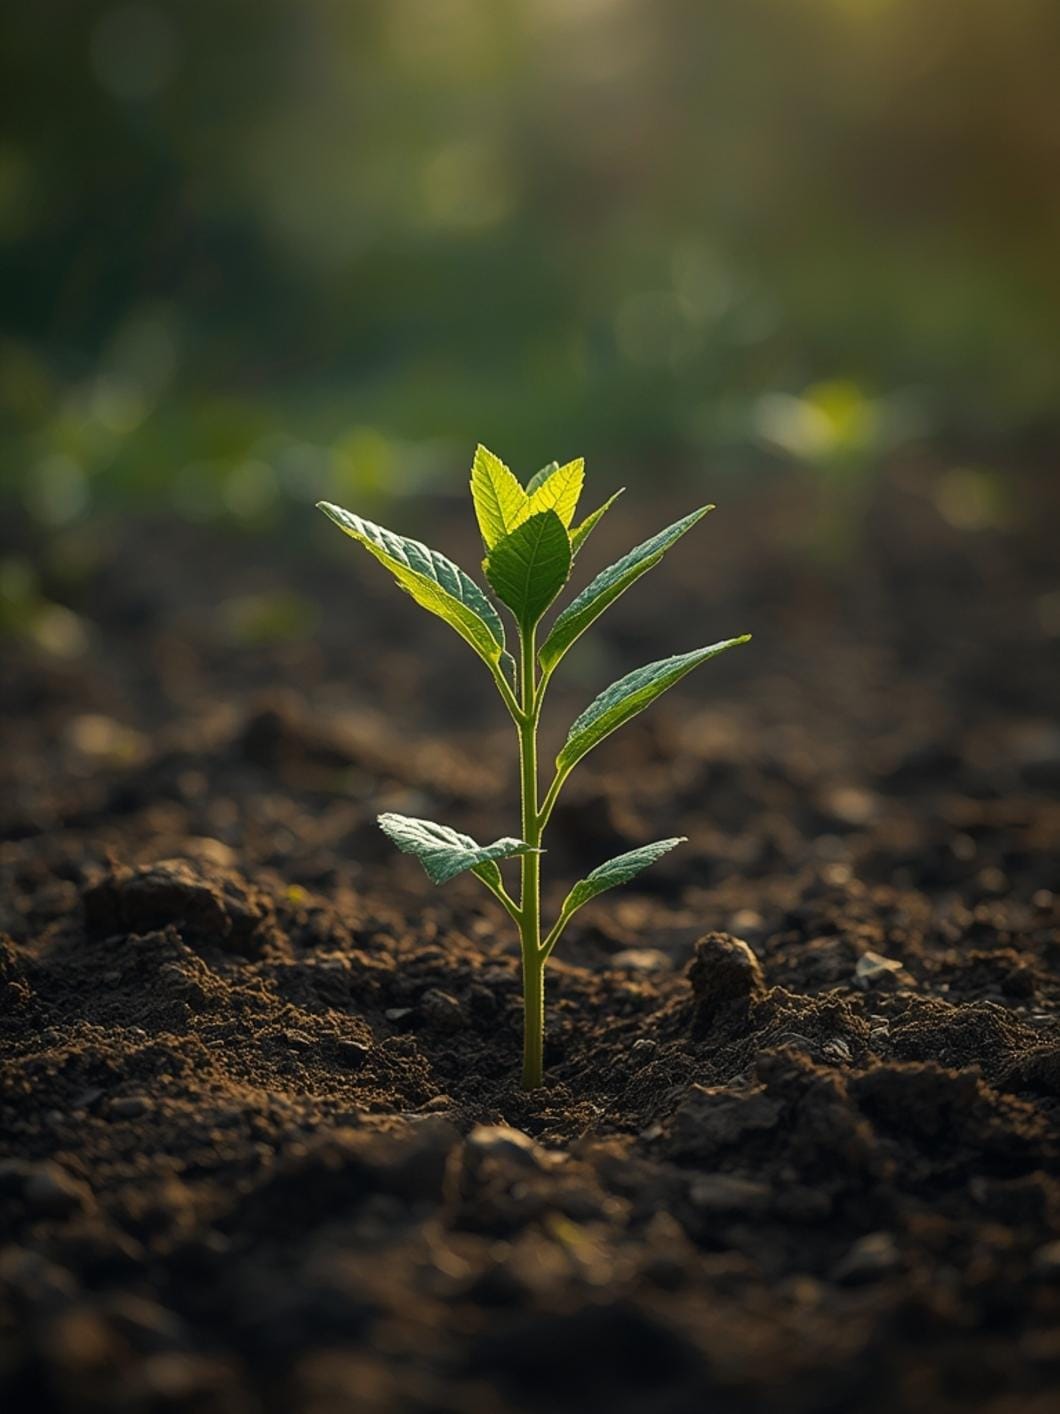
3. Initiate the nurturing sequence: Place the seed or cutting into the prepared space, cover lightly, and mist with water to settle the medium and encourage contact with the substrate.
4. Monitor conditions: Use the moisture gauge to check humidity levels daily, adjusting watering frequency as needed, and observe any changes in leaf texture or color.
5. Observe growth milestones: After the first week, look for signs of sprouting; after two weeks, note leaf development and adjust lighting if required to maintain optimal exposure.
Throughout each phase, maintain a cultivating mindset that emphasizes patience and attentive observation. Small adjustments, such as rotating the containers for even light exposure or adding a supplemental light source during shorter daylight periods, can significantly enhance outcomes. By following this structured approach, beginners can achieve confident results while experienced practitioners can refine techniques for optimal performance.
Benefits / Advantages
Engaging in this routine offers a range of practical and emotional rewards. Financially, the approach can reduce grocery expenses by providing fresh herbs and vegetables directly from the home. Environmentally, the method improves air quality and contributes to biodiversity, even in urban settings. Psychologically, the act of nurturing living elements has been linked to reduced stress, enhanced mood, and increased focus. Socially, sharing harvests or swapping tips fosters community connections and encourages knowledge exchange. Moreover, the repetitive nature of the activity promotes mindfulness, allowing participants to disconnect from digital distractions and reconnect with tangible, sensory experiences. These combined advantages make the practice an appealing addition to any lifestyle, regardless of experience level, and illustrate how a modest commitment can yield substantial personal and communal gains.
Beyond the immediate gains, consistent practice encourages a deeper appreciation for natural cycles and fosters a sense of responsibility toward the environment. Over months, participants often report heightened creativity, improved sleep patterns, and a greater willingness to experiment with other DIY projects, illustrating how a single habit can ripple into broader personal development. This lasting impact underscores the value of integrating simple practices into everyday life. Embrace the habit today and watch your world transform in ways you never imagined.
Tips, Alternative Methods, or Expert Advice
For those seeking to optimize results, consider the following strategies:
– Temperature control: Keep ambient temperatures within a narrow band to support steady development.
– Supplemental lighting: Introduce a secondary light source during shorter daylight periods to maintain consistency.
– Soil amendment: Rotate in organic matter every few weeks to sustain nutrient availability.
– Propagation techniques: Experiment with cutting or division methods to multiply stock without additional purchases.
– Community resources: Join local forums or online groups to exchange experiences and discover innovative hacks.
Advanced practitioners may explore automated irrigation systems or hydroponic adaptations to scale the approach. Beginners can start with a single container and gradually expand as confidence grows. Tailoring the approach to personal schedules and space constraints ensures sustainable engagement, while seasoned enthusiasts can experiment with hybrid systems that blend traditional and modern methods.
Common Mistakes to Avoid
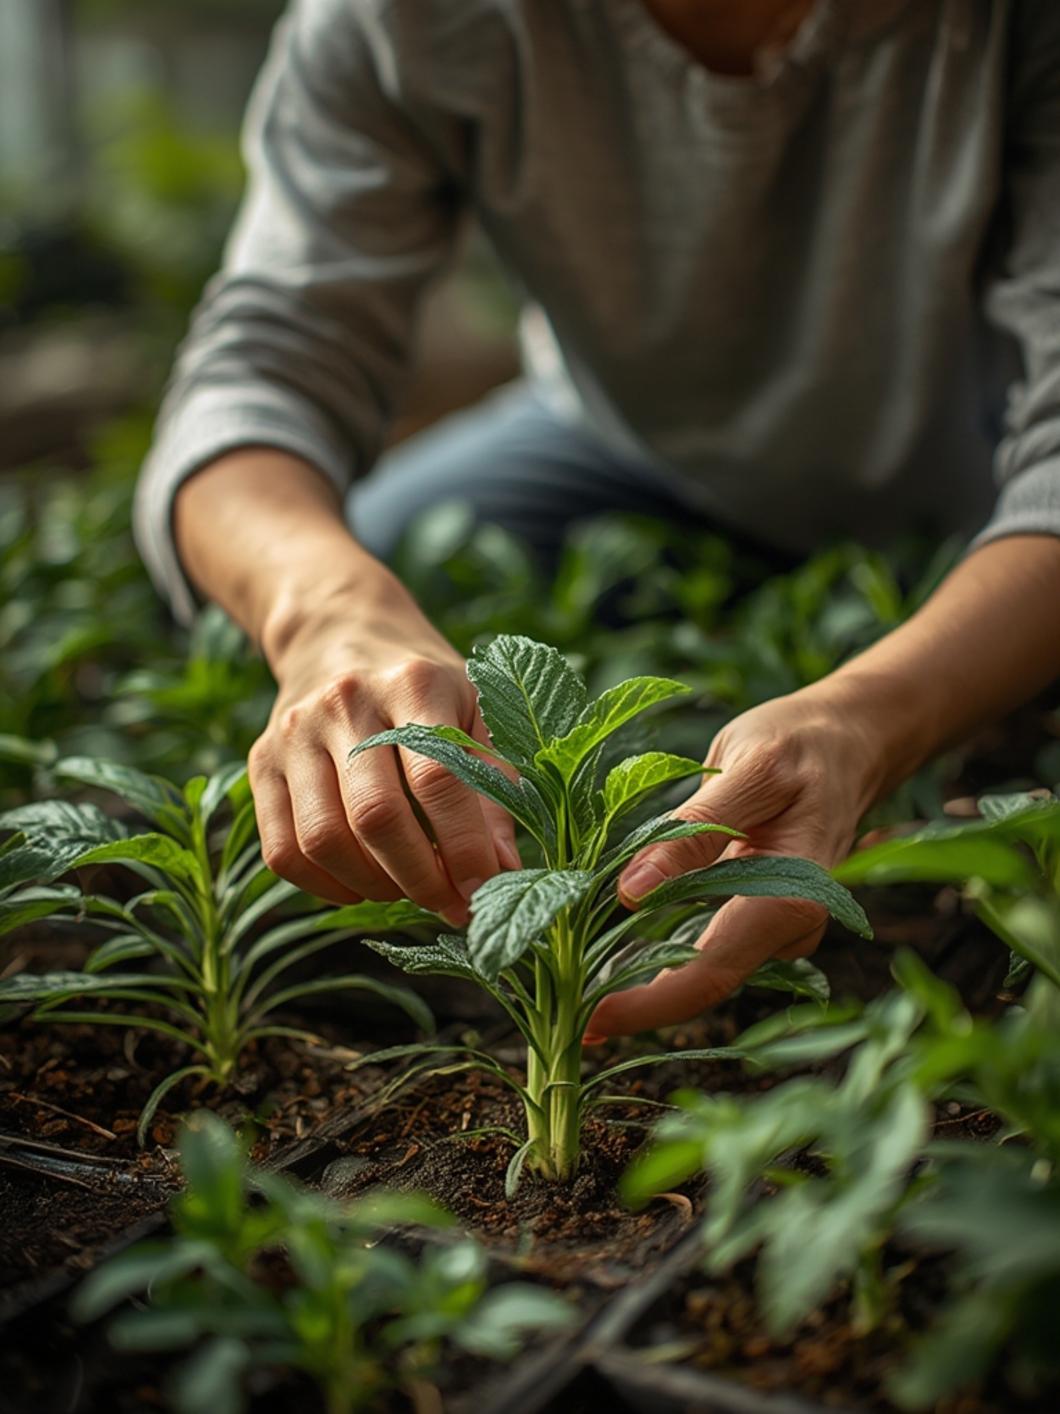
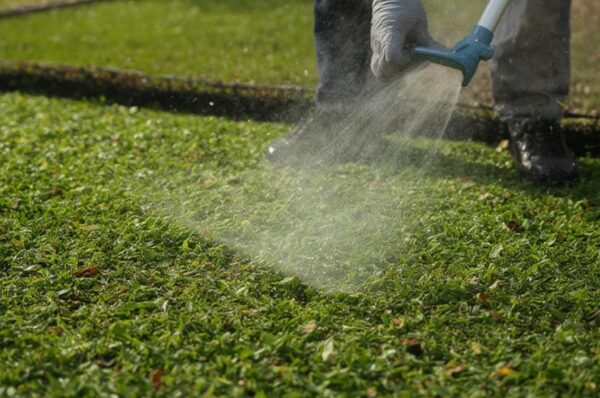
Even seasoned enthusiasts sometimes slip into habits that hinder success. Typical errors include overwatering, which can suffocate roots and lead to rot; using low‑quality substrate that lacks proper drainage; placing containers in locations with insufficient light; neglecting regular monitoring of humidity levels; and failing to adjust feeding schedules as plants mature. Each of these oversights can be corrected by adopting simple preventive measures: check moisture before each watering, select a well‑aerated medium, position vessels near bright windows or under grow lights, and set reminders for feeding intervals. Additionally, avoid disturbing the growing medium unnecessarily, as frequent handling can stress developing roots. By recognizing and addressing these pitfalls early, participants can safeguard their progress and enjoy more consistent outcomes.
Storage / Maintenance / Ongoing Care Tips
After the active period concludes, proper storage preserves the integrity of tools and materials for future use. Clean all containers thoroughly, remove residual matter, and allow them to dry completely before stacking. Store substrates in airtight bags to prevent moisture absorption. Equipment such as moisture meters and lighting panels should be kept in a cool, dry place, away from direct sunlight. Schedule periodic inspections to identify wear, replace worn components, and refresh the growing medium as needed. Establish a routine maintenance checklist that includes checking for mineral buildup, calibrating sensors, and replenishing protective covers. By establishing a systematic upkeep plan, you extend the lifespan of your setup and ensure readiness for the next cycle.
Conclusion
In summary, embracing this enriching activity can transform daily routines into rewarding experiences that blend creativity with sustainability. Take the first step today, experiment with the techniques shared, and observe the positive changes unfold in your environment. Share your journey with fellow enthusiasts and explore additional resources on our site. Remember, every successful planting journey begins with curiosity, and every thriving cultivating habit is nurtured by consistent care. Exploring new possibilities will keep the experience fresh and inspiring.
FAQs
Q1: How long does it take to see visible results?
A: Most participants notice early changes within one to two weeks, with fuller development appearing after three to four weeks, depending on conditions.
Q2: Can this be practiced outdoors?
A: Yes, the same principles apply, but outdoor settings may require additional protection from weather extremes and pests.
Q3: Is special equipment necessary for beginners?
A: Not necessarily; a basic setup with a suitable container, quality substrate, and a simple watering routine can get you started without major investment.
Q4: What are the signs of over‑watering?
A: Yellowing leaves, a soggy feeling in the substrate, and a musty odor indicate excess moisture, prompting a reduction in watering frequency.
Q5: How often should nutrients be added?
A: Generally, a light feeding every two to three weeks suffices, adjusting based on plant response and growth stage.